Gather without designing
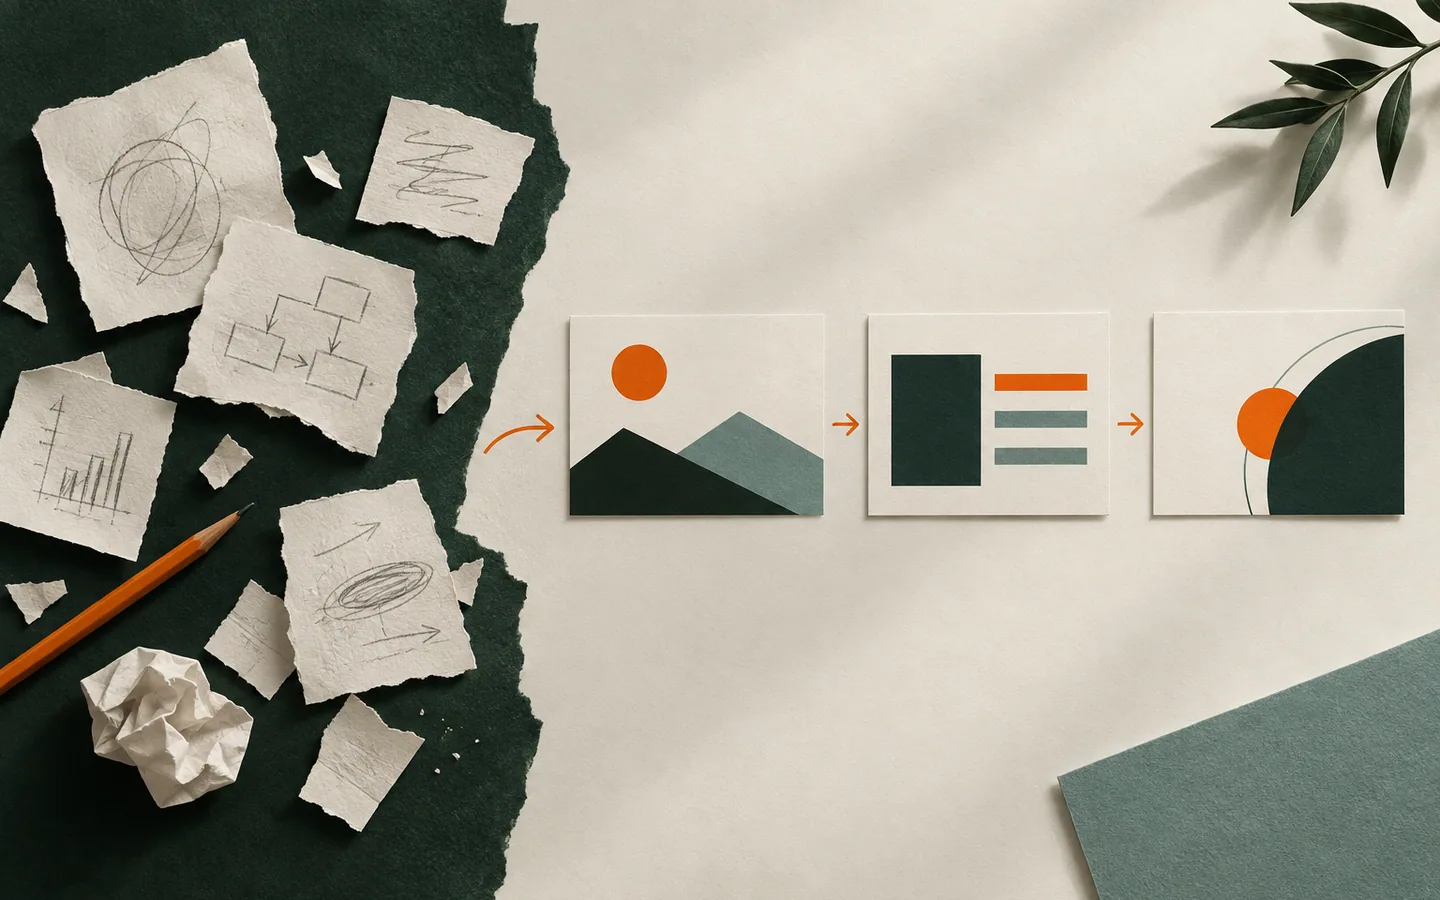
Bring your notes, links, screenshots, figures and questions into one place. Do not arrange them into slides yet. Mark each item as a claim, evidence, example, objection or open question. A note without a role can wait.
Also record the audience, the time available and the decision you want at the end. The same notes may produce a different deck for a client, a class or an internal team.
Write the narrative spine
Draft the story as five to seven plain-language sentences. A useful sequence is context, tension, key insight, evidence, implication and next step. This is an outline, not final slide copy.
Read the sentences alone. If the logic jumps, fix the order now. Beautiful slides cannot repair an argument whose middle is missing.
Give every slide one job
Turn each sentence into a slide with a conclusion as its headline. “Three delays cause most handoffs” is more informative than “Current process.” Place only the evidence required to support that conclusion on the slide.
Use a diagram for movement or relationships, a chart for comparison, an image for a concrete example and a short line of text for a claim. If a slide needs several unrelated visuals, it may be doing two jobs.
- Headline: the point you want remembered
- Body: the evidence that makes it credible
- Speaker notes or appendix: the detail needed only if someone asks
Make the sequence easy to follow
Keep recurring elements in consistent positions and make changes between slides purposeful. Repeated scales, colors and labels allow people to compare; arbitrary variation forces them to relearn the page.
Preview the deck without speaking. Someone should still grasp the main argument from the headlines and key visuals. Then rehearse aloud: if you must read the slide word for word, it is probably carrying too much text.
Verify before sharing
Check quoted numbers against their sources, make chart axes and units visible, and confirm that screenshots and examples still reflect reality. Remove an unsupported claim even if it makes the story less dramatic.
Finally test the exported file on the screen and device that will actually be used. A good presentation survives the projector, not just the editor preview.
A simple example: from meeting notes to a deck
Suppose your notes say the launch is late, customers keep asking the same question and support has built a workaround. Rather than making three miscellaneous update slides, write the narrative: the launch delay has one main cause; that cause creates customer uncertainty; one fix removes both the delay and the repeated question.
Now each slide has a purpose: the current situation, the bottleneck, the customer impact, the proposed change and the decision needed. The support workaround can become evidence on the impact slide or an appendix detail. The original notes are still present, but the audience sees a sequence they can act on.
What to cut and what to keep
Cut repeated context, decorative charts and background that does not help the decision. Keep the definitions and caveats required to interpret the evidence. If a finding is important but interrupts the main flow, put it in an appendix and provide a clear path to it during questions.
The best editing test is to remove one slide and see whether the argument still works. If it does, the slide may not be earning its place. If removing it creates a logical gap, make that gap explicit in the headline so the audience understands why the slide matters.
Run a five-minute rehearsal
Present the deck once without stopping to edit. Mark every place where you say “as you can see” but the audience cannot immediately see it, and every point where you explain information that is not on the slide. Those moments often signal weak hierarchy or missing context.
Then review the first and last slide. The opening should establish why the topic matters to this audience; the ending should state the decision, action or understanding you want to leave with them. A tidy middle is not enough if the audience cannot tell what to do next.